When tackling a project with full-color ink, know that there are multiple options for affecting the final visual output of the film. Using the fundamental processes that we’ll outline below, will help achieve the desired result for each unique application.
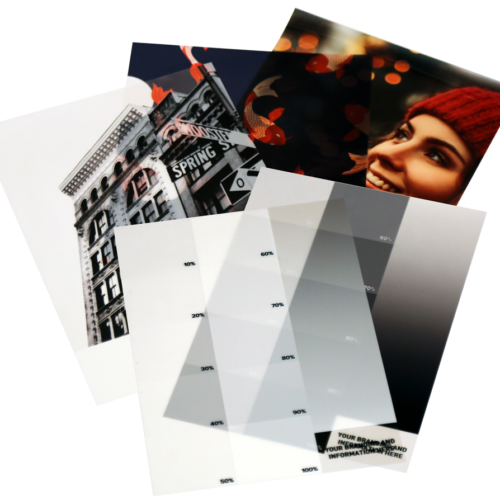
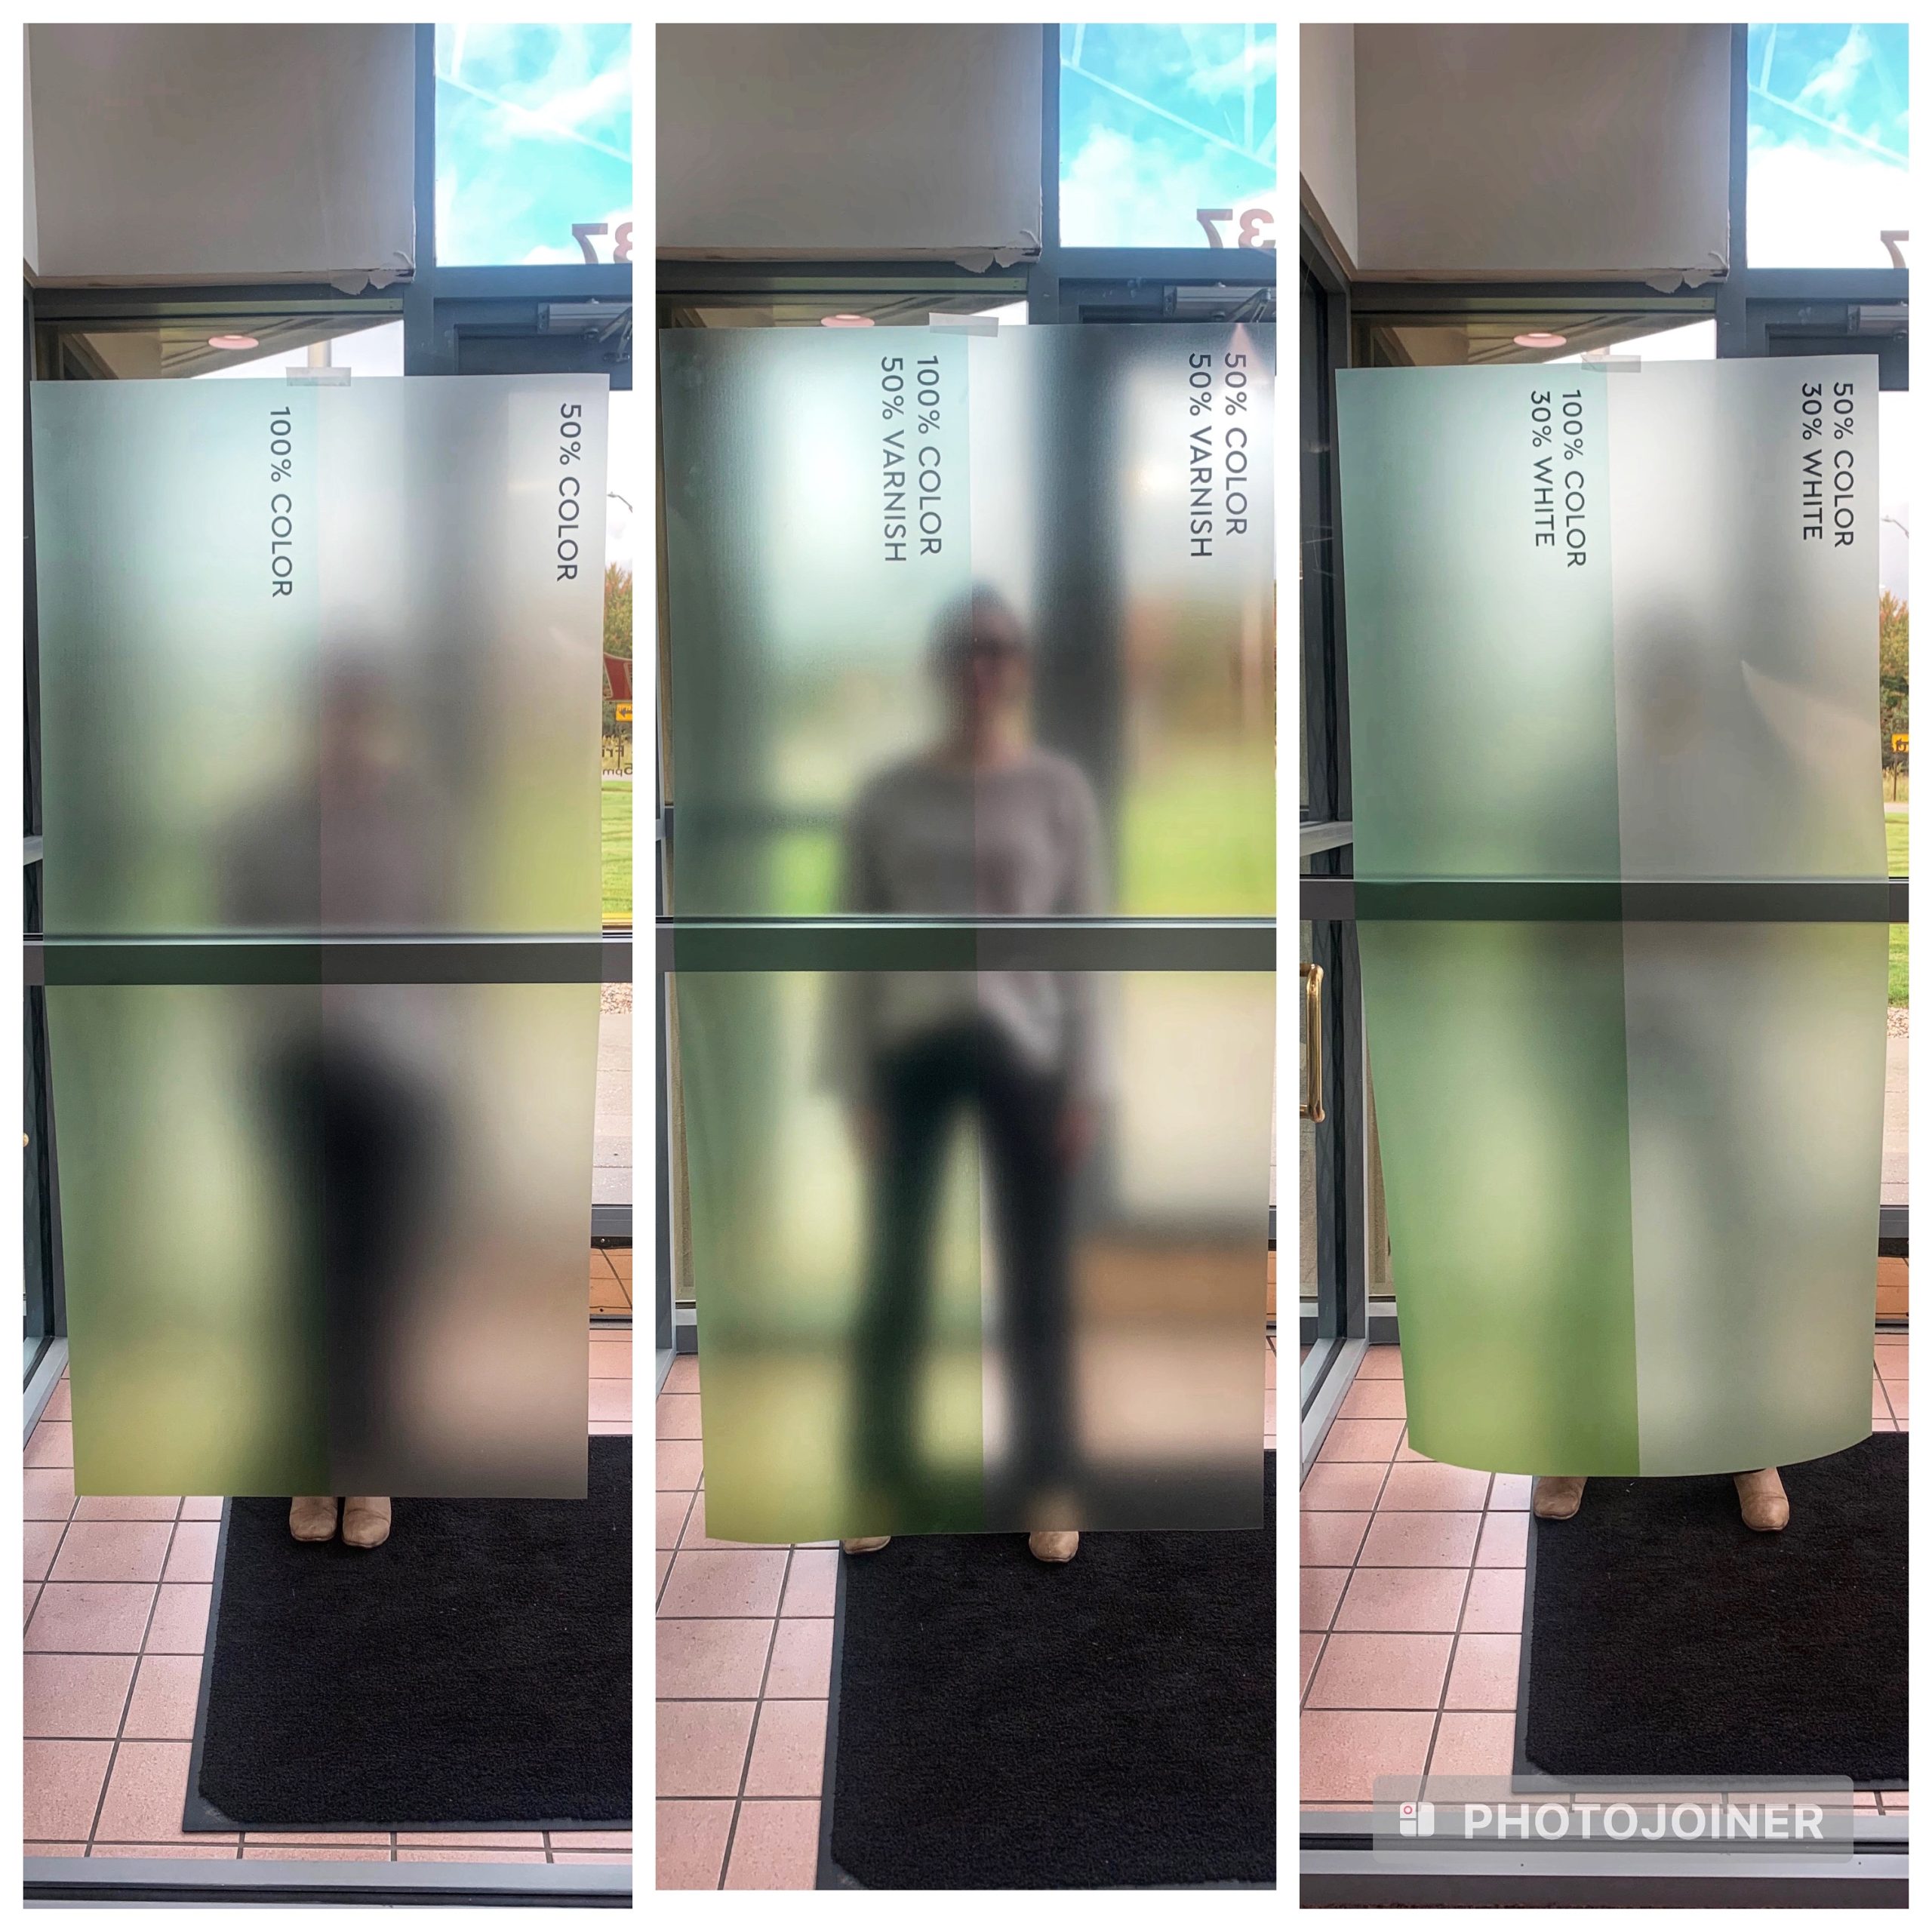
Take a closer look at these color ramps we created as we dive into the different processes and what they accomplish. It’s important to note that these ramps all contain the same color green, but it has been adjusted in three critical ways.
Opacity – Adjusting the level of color.
Our capabilities allow us to customize the percentage of color laid down on the film, altering colors into complementary ranges. Ranges of color opacity vary from 0-100%.
Looking at the ramp furthest to the left – you’ll see the same color green, at 100% vs. 50%opacity. The transparency of the film is the same, but the shade is entirely different. This process can be used to add variation to a pattern or design or to highlight certain areas without sacrificing the overall level of privacy.
Translucency – Adding varnish to colored ink.
UV inks, by default, have a matte, somewhat frosty appearance. Varnish, a clear ink that can be added to the film as an all-over flood coat or, more often as a spot treatment, reduces that frostiness and increases the translucency of the film, when added to colored ink. Incorporating varying levels of varnish allows us to perfectly tailor the amount of privacy offered by the film.
Though the colors in the middle ramp are the same as in the first, there is much greater visibility with the added varnish layer. 50% varnish was chosen for this particular test but levels vary from 0-100%. The higher the level of varnish, the more translucent the film will be. This process is especially great for projects requiring a high level of clarity in the film or those looking to highlight specific areas while keeping the color opacity cohesive throughout the design.
Vibrancy – Adding white ink behind or in-between colored ink.
Our process allows for up to three layers of ink on the film. By adding subtle or striking amounts of white ink behind the color or as an inner layer between two layers of color, you will not only increase the level of privacy but add vibrancy as well.
Looking at the ramp furthest to the right, you will see how much brighter and more private the colors become with even just the 30% white layer (behind), as compared to the other two ramps.
Similar to our other inks, white ink is available in opacities of 0-100%. The higher the level of white ink, the brighter the output of the incorporated color will be. Adding the accent of white ink also helps bring colors to their true shades, as you’d see in media, walls, and other areas with natural white points behind them. This process is especially great for projects that have critical colors, like in branding graphics or those with a great deal of natural light behind, that could potentially wash out the color.
Whatever the goal is, Creative FX Custom Window Films can achieve it. Our team of highly trained representatives will help guide you through curating the environment of your dreams.